SOLUTIONS
BY INDUSTRY

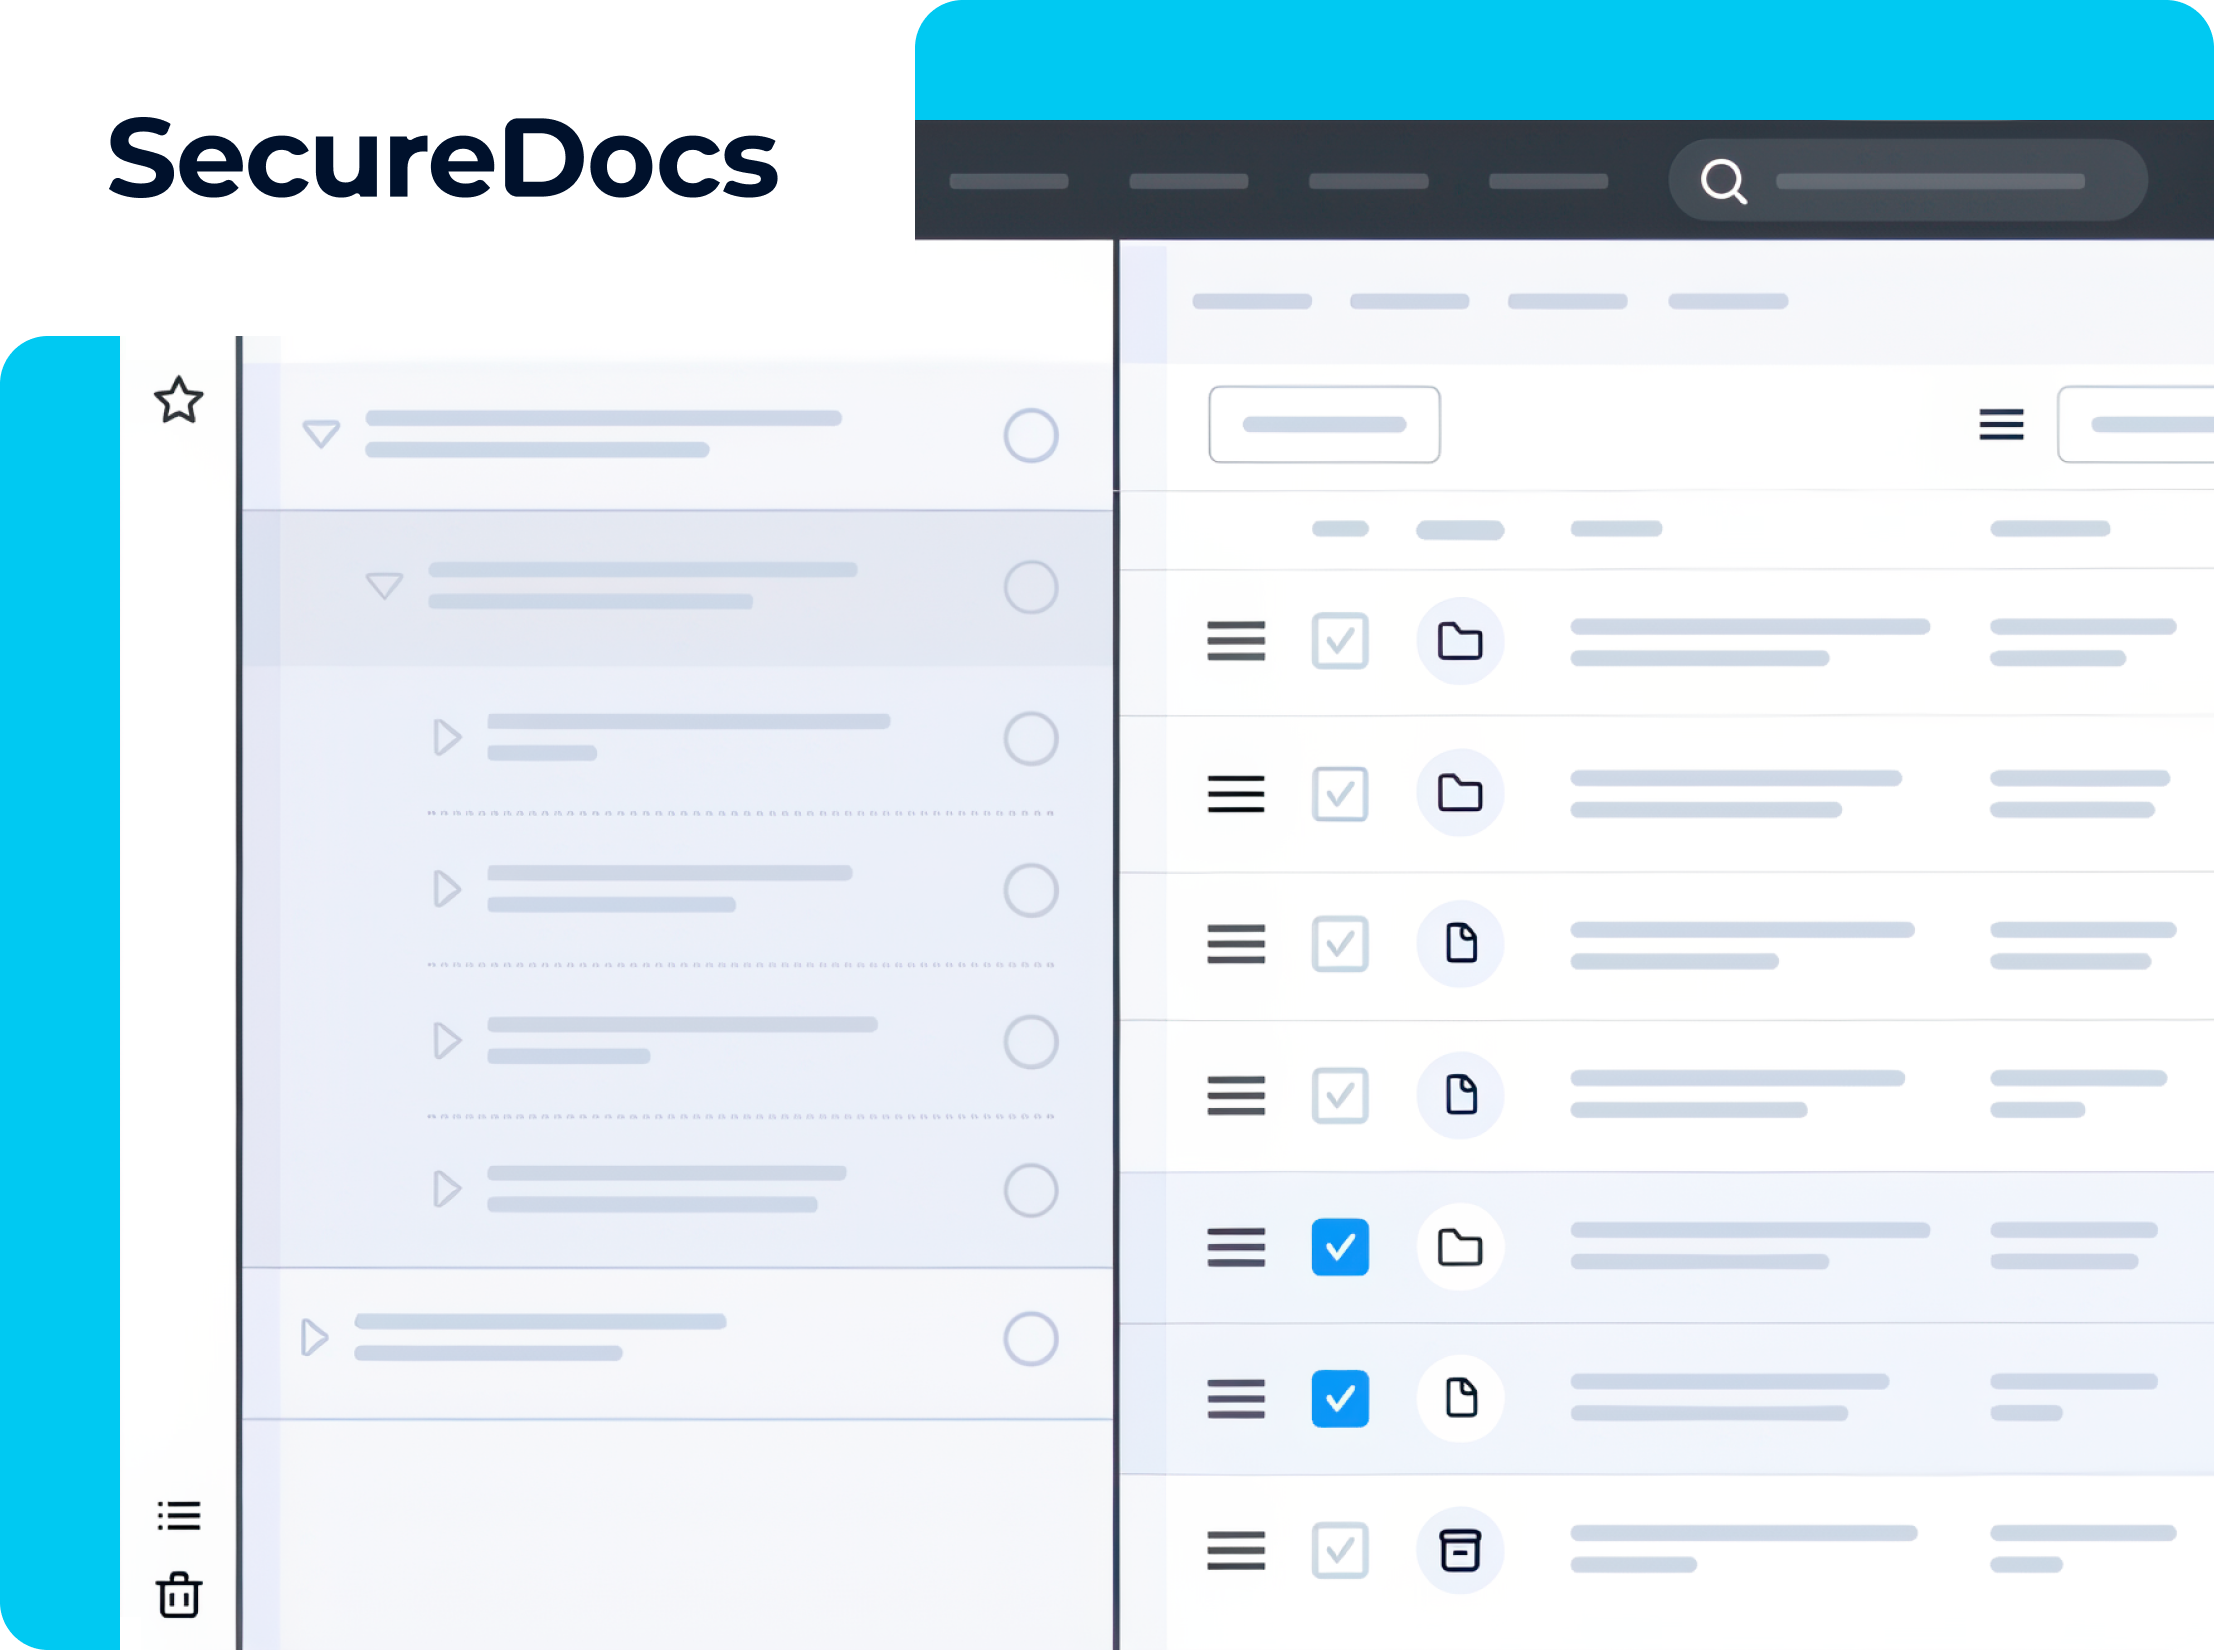
SecureDocs
Same trusted virtual data room. Backed by the full strength of Onit’s product portfolio.
Click the button to access your account now.
Set up your SecureDocs room in just 10 minutes. Flat-fee pricing starts at $250/month and includes unlimited users, unlimited documents, and 24/7 support. Get started immediately — no need to wait for sales.
Click here to find the SecureDocs help documents, resources, FAQs, and tutorials for secure document sharing and virtual data rooms.
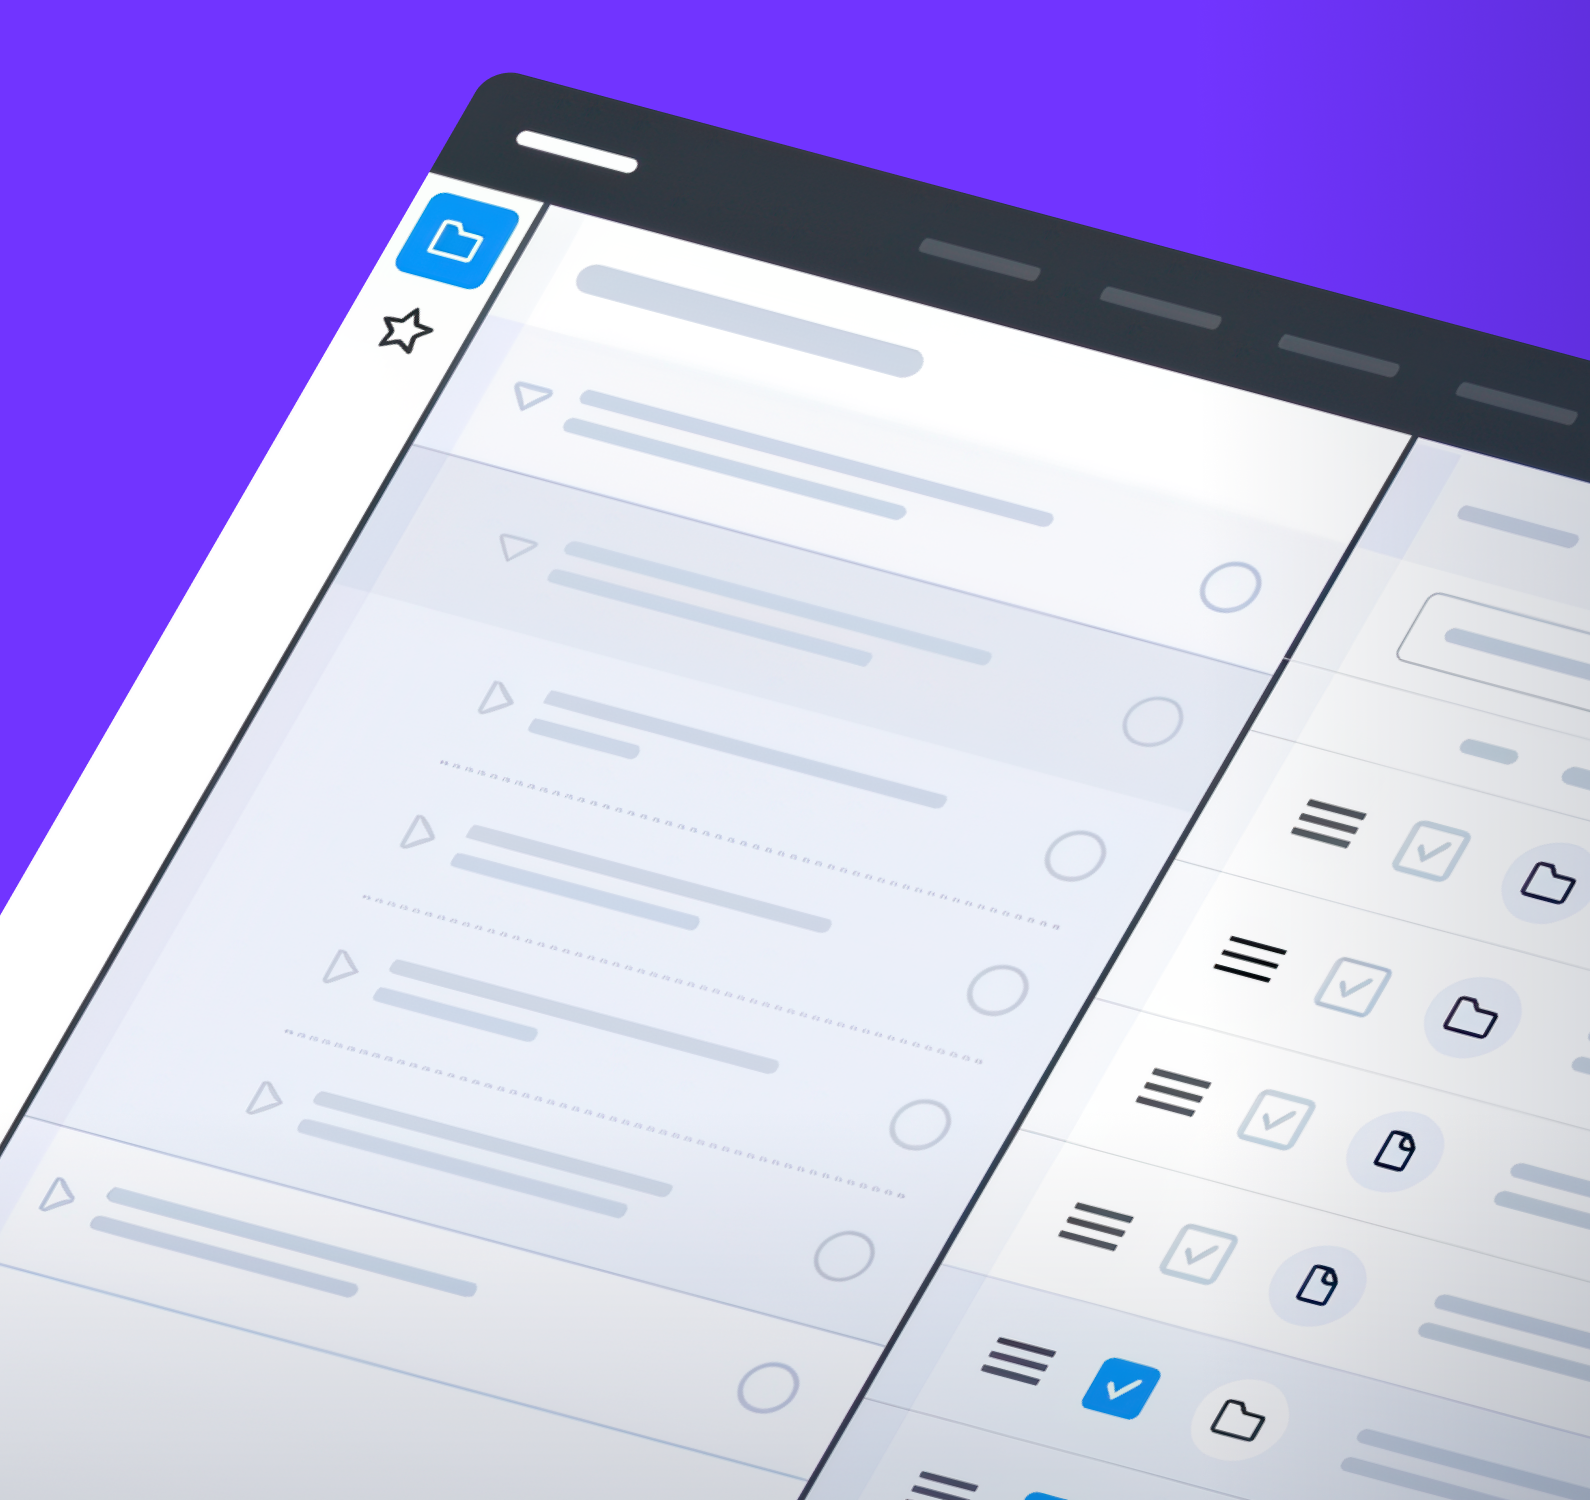
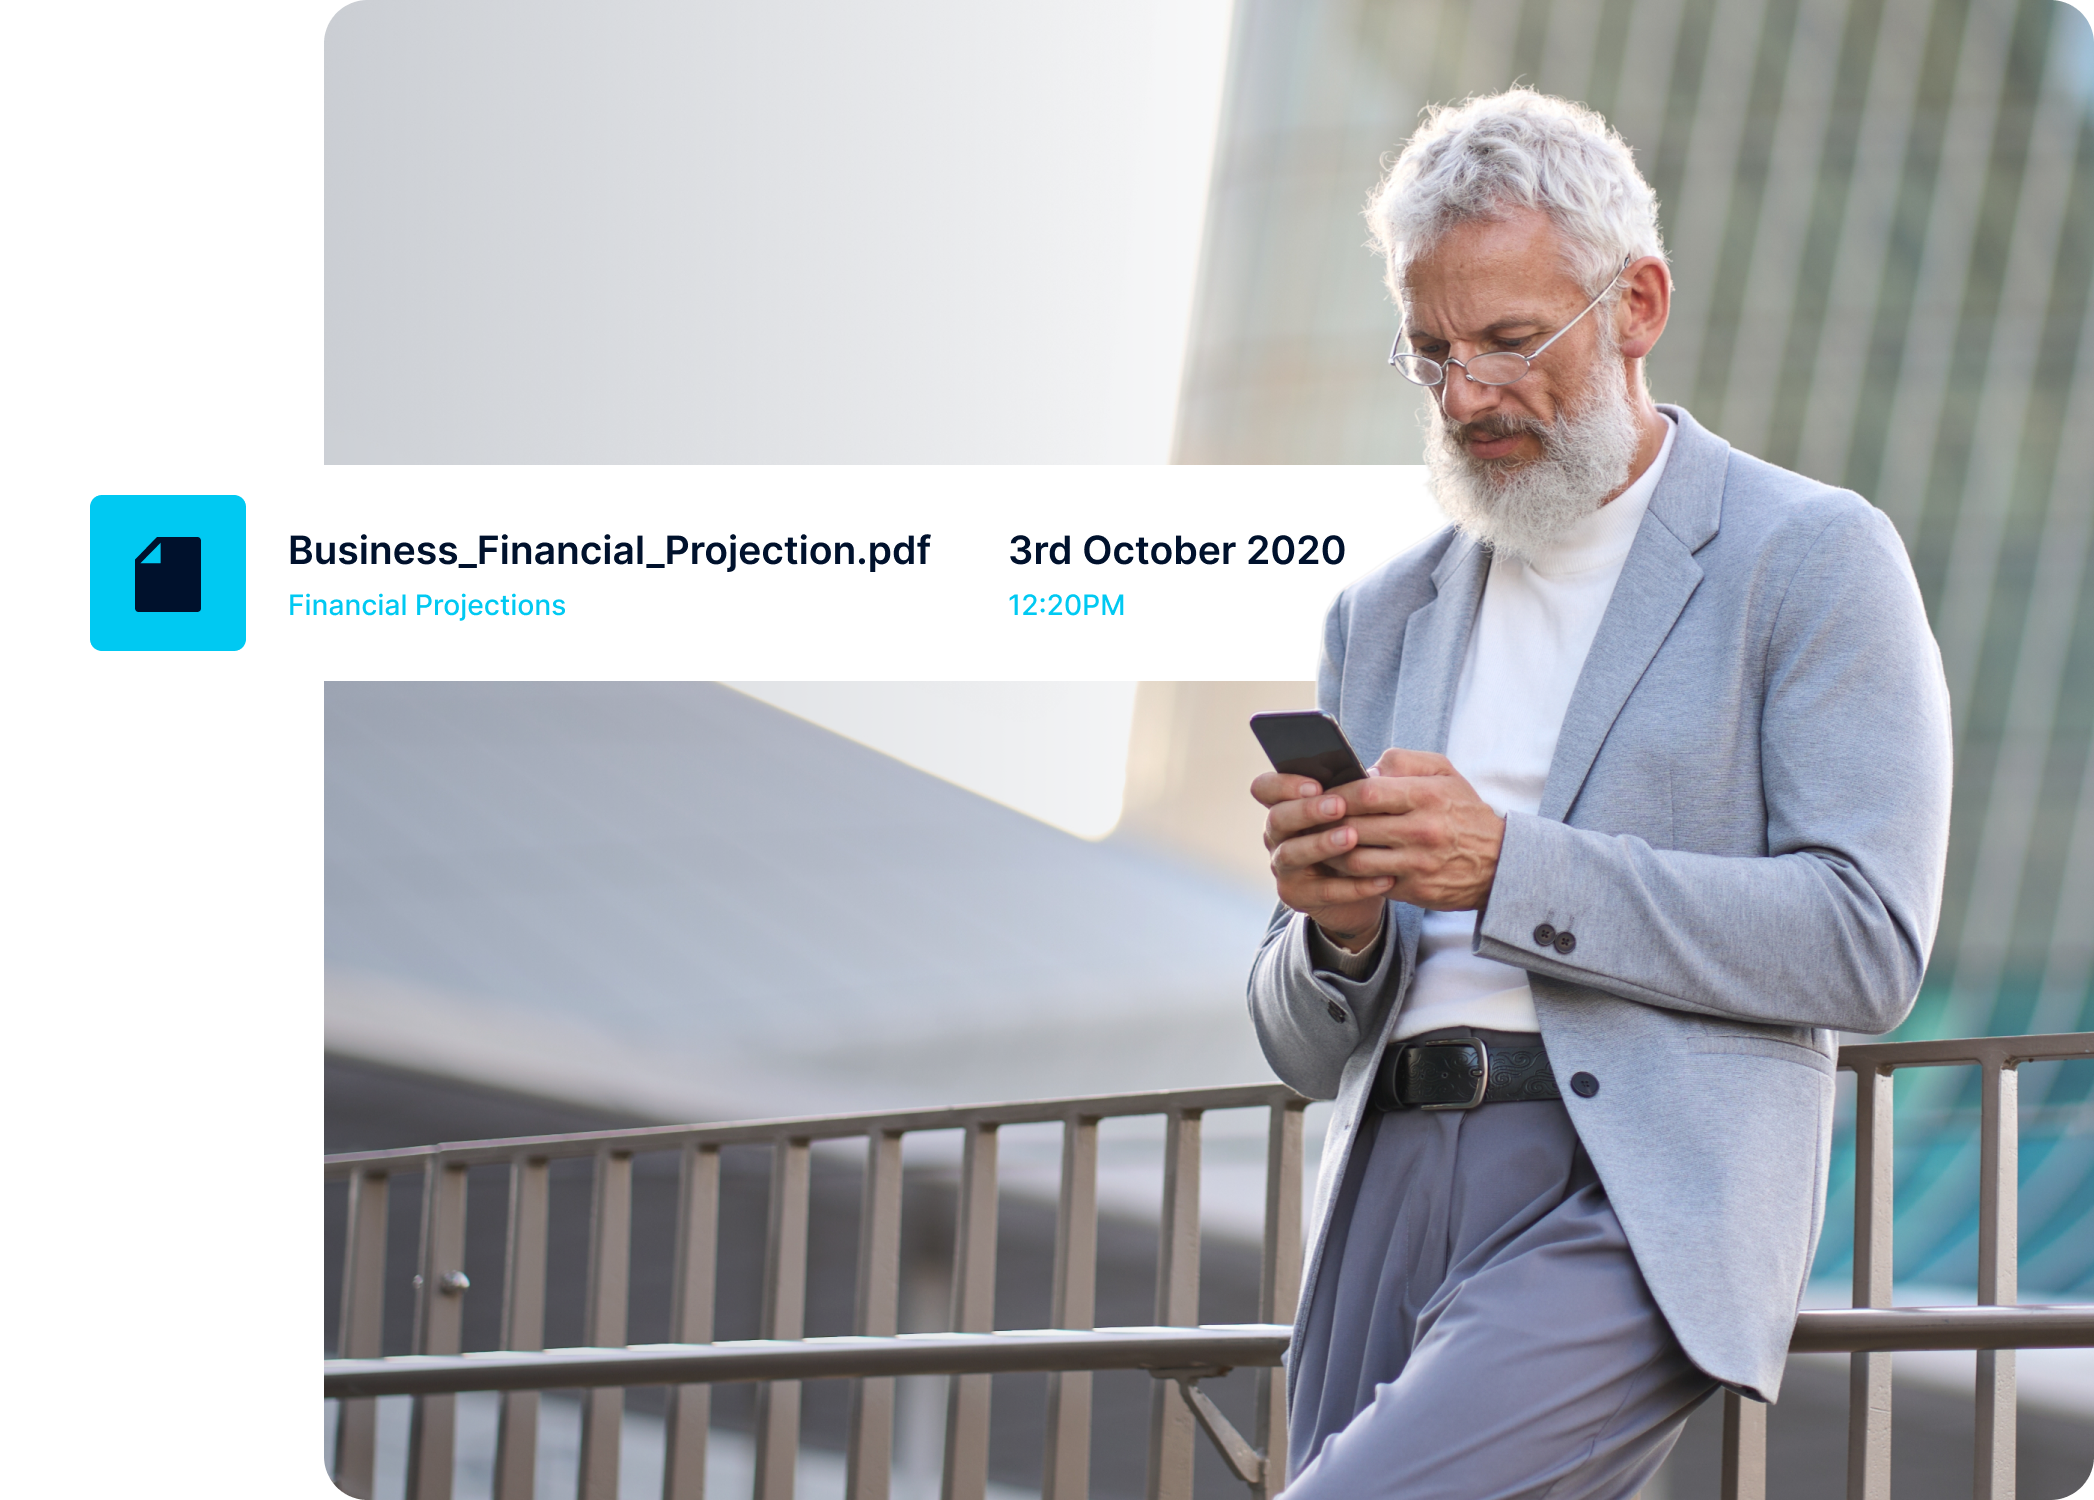
Within minutes of creating your account, your secure data room will be up and running. As part of Onit, SecureDocs is built with an intuitive, user-friendly interface that connects seamlessly with your business workflows. It’s a straightforward way to store, manage, and securely share sensitive deal documents.
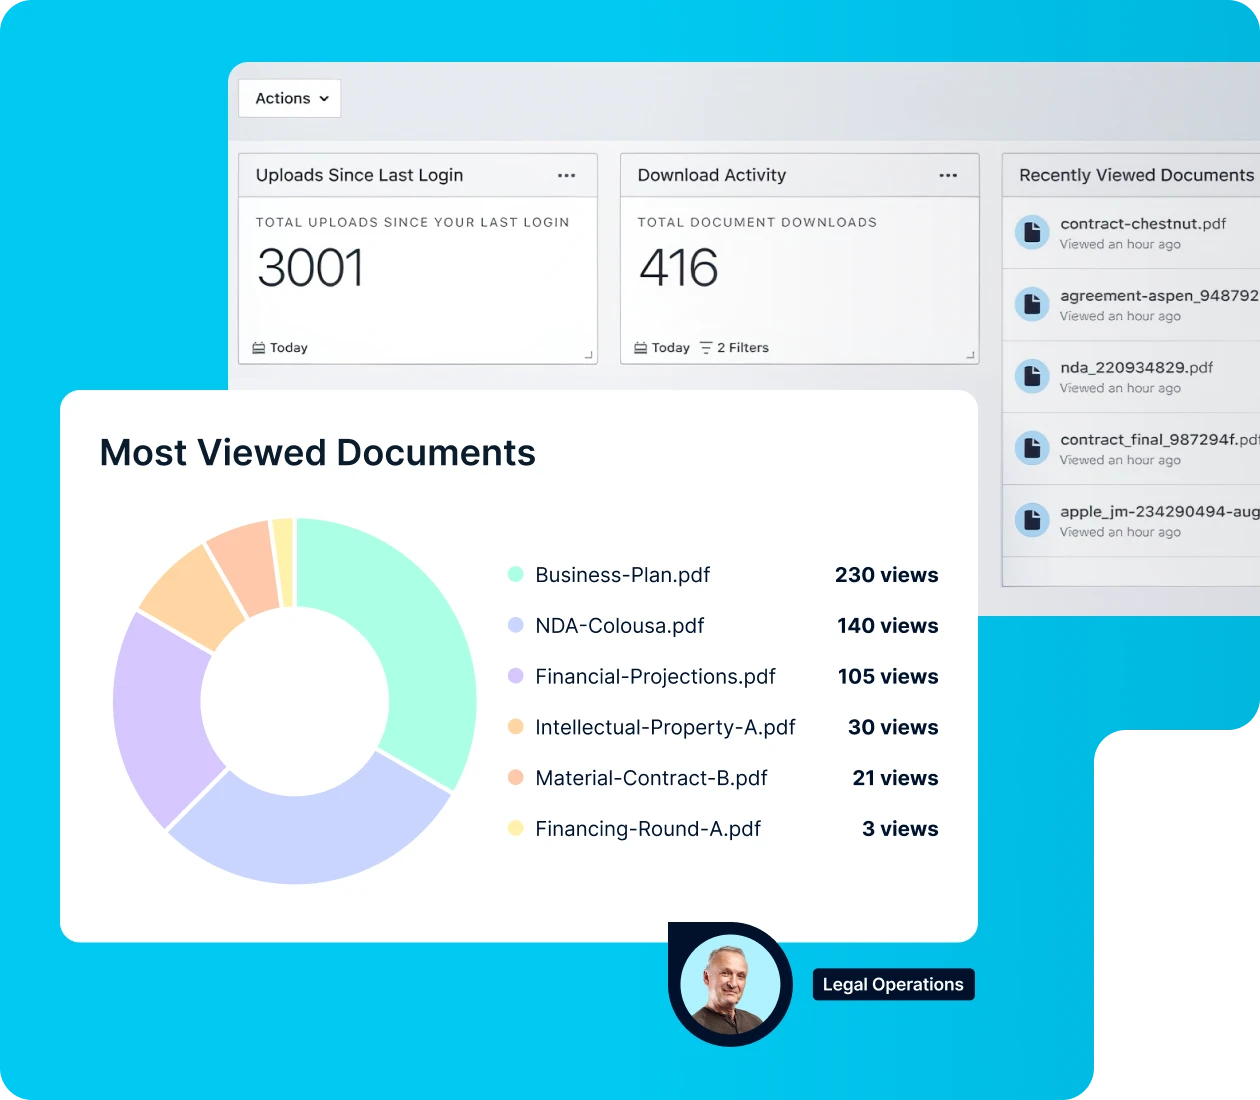
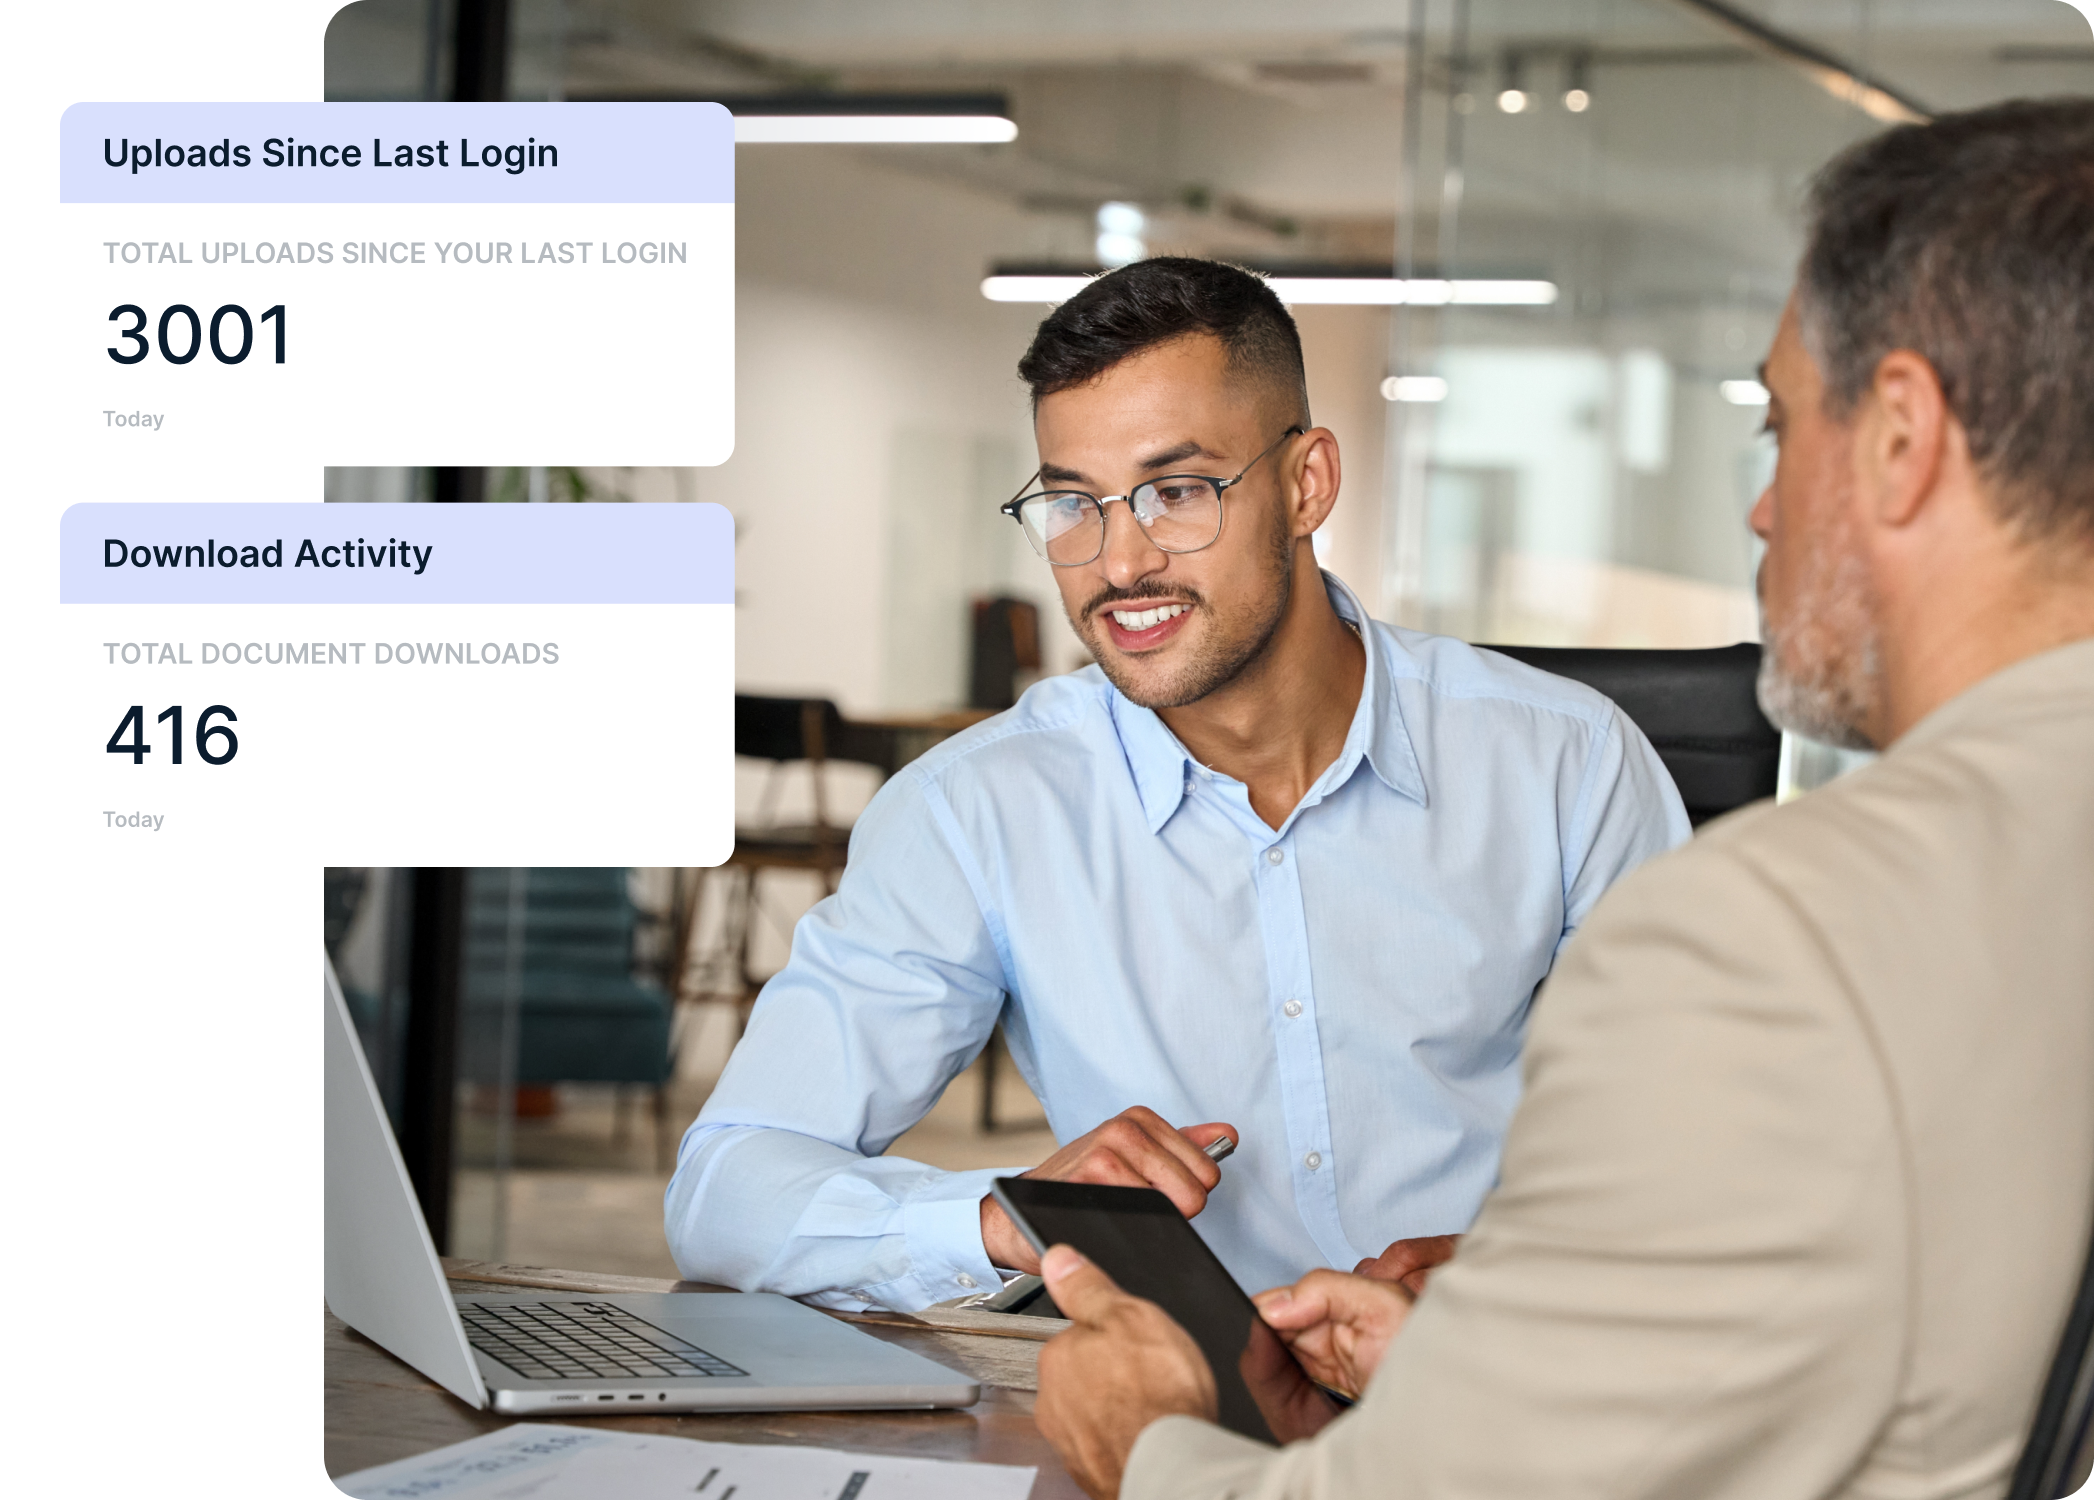
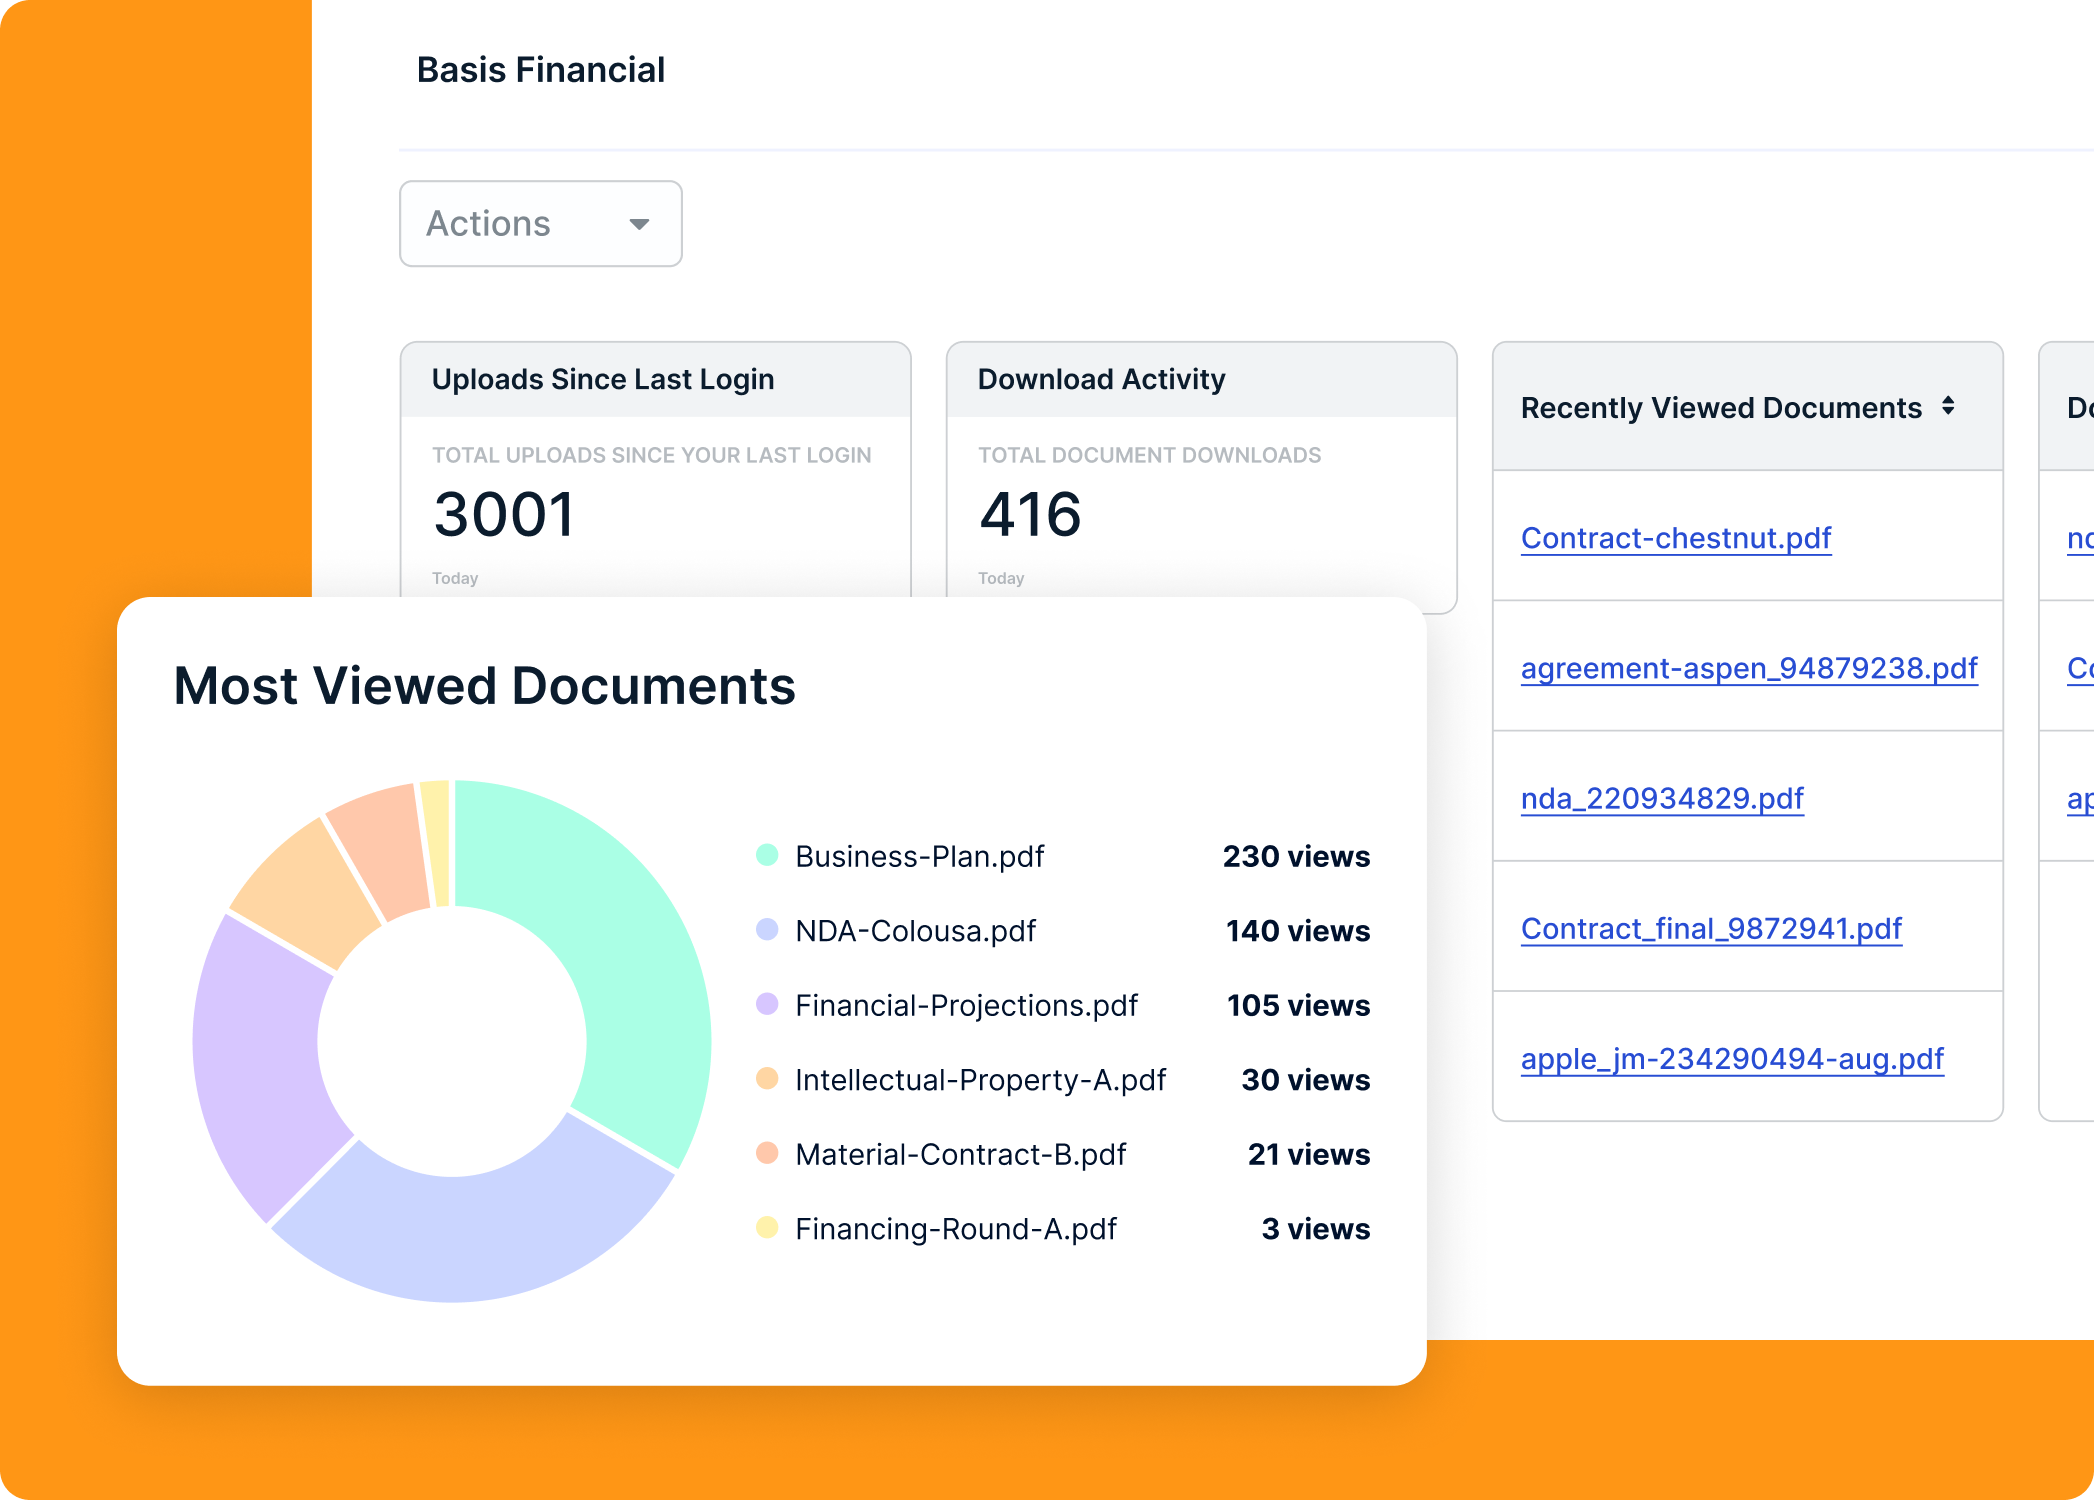
SecureDocs is designed to give you valuable insight into the activity in your data room. Audit trail reporting, activity alerts, dashboards, and Q&A provide the visibility you need to gauge buyer or investor interest.


With an easy-to-use interface, 24/7 dedicated support team, proven security features, and transparent, flat-fee pricing, SecureDocs delivers a simple, reliable virtual data room.
Rapid self-setup means you can have your virtual data room up and running in 10 minutes or less – no need to speak with a salesperson or commit to any technical training. The intuitive, quick-start design means you’ll be deal-ready in minutes.

Understanding what’s happening in your virtual data room provides valuable insight to gauge interest from buyers, investors, or other external parties. Your SecureDocs customizable dashboard lets you filter activity by user, role, or group, document uploads/downloads, and document views.

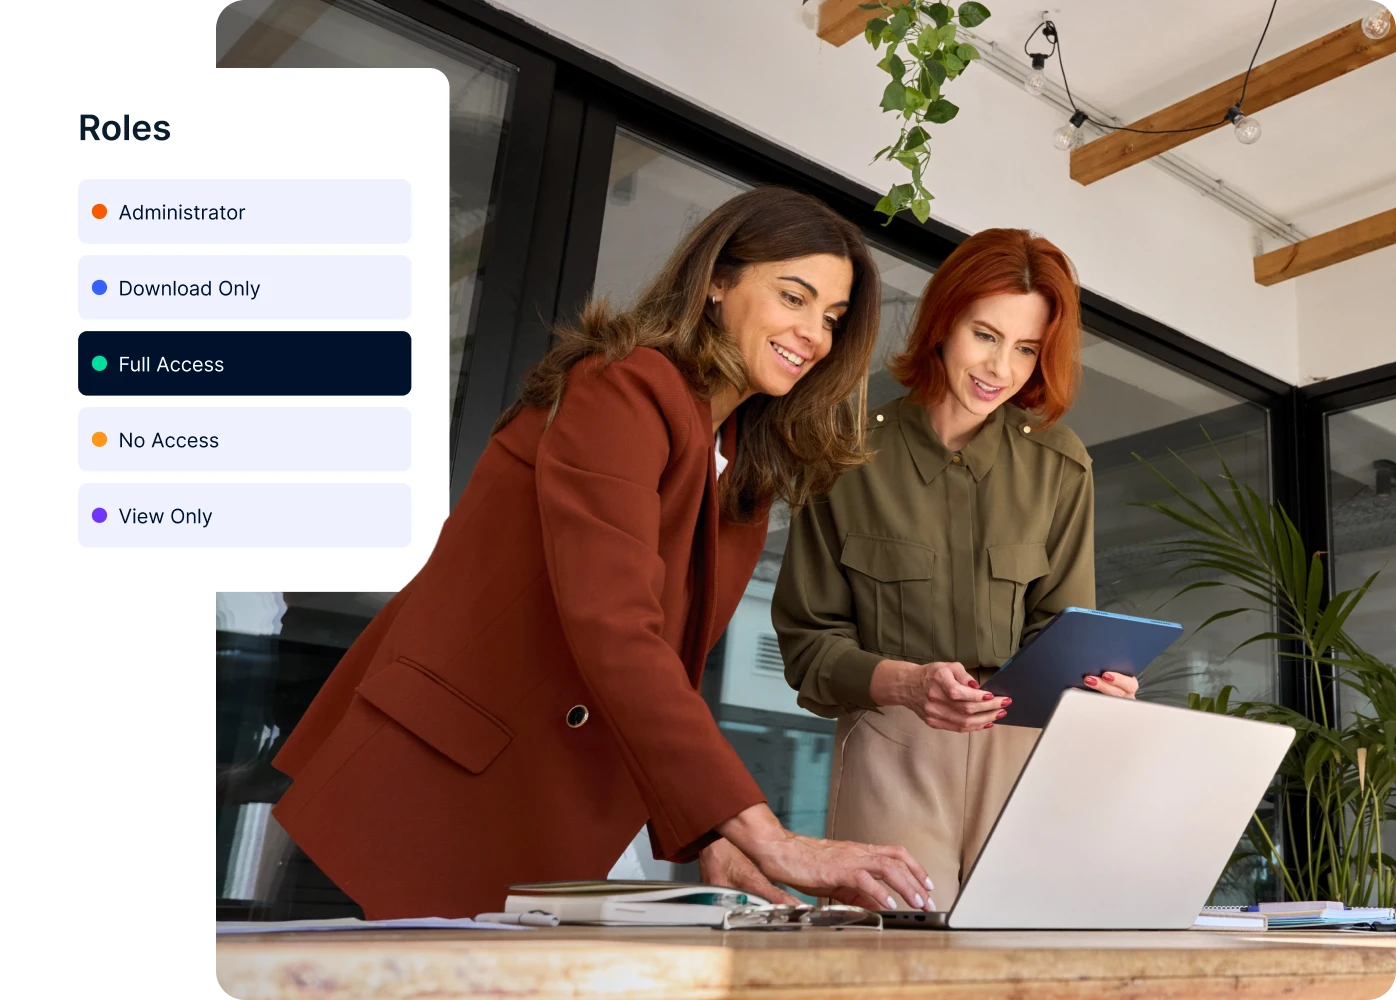
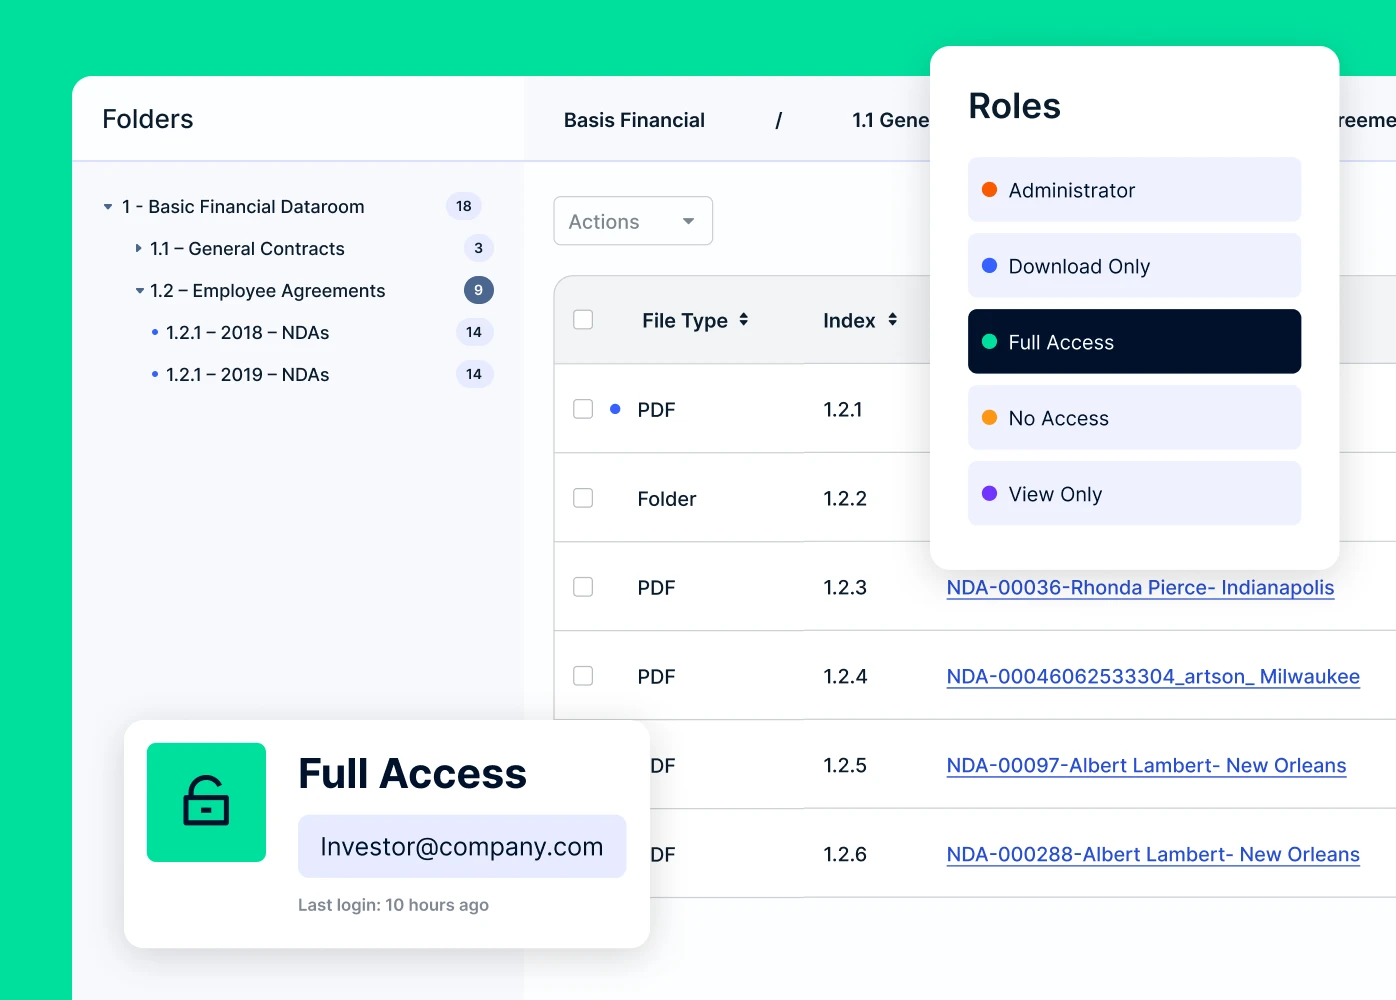
Control your company’s most critical documentation with SecureDocs advanced security features. Granular user permissions, watermarking, customizable NDAs, and an exportable activity log make it easy to manage sensitive information confidently.

Simple, intuitive design complements robust, industry-leading security for a different approach to data room software. Your virtual data room is easy to launch and conveniently deal-ready in minutes, no extensive training required. Start managing your confidential corporate documents immediately.

When it comes to virtual data room pricing, we don’t believe in surprises. That’s why we offer completely transparent, flat-fee plans that are budget-friendly for businesses large and small.
Choose this plan when you need a secure data room for a short-term project. Ideal for safely executing, sharing, tracking, and storing documentation related to divestments, M&A, and bankruptcy.
Choose this plan when you have a long term project or want to build a corporate repository to stay prepared for deal-making opportunities as they arise. Also perfect when you anticipate a deal taking 6 months or longer to complete.
Choose this plan if you’re managing multiple deals simultaneously and need a secure virtual solution to keep everything organized and moving forward. Billed annually. Contact us for volume pricing.
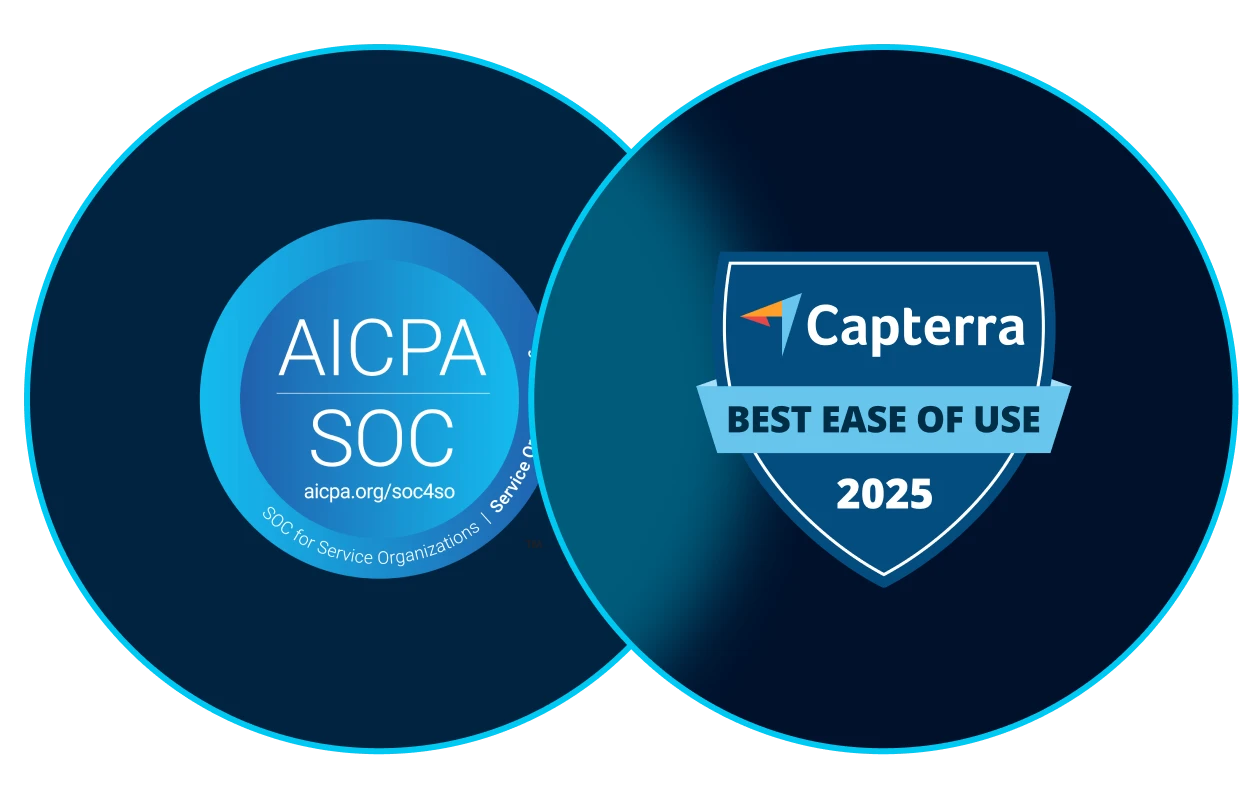
Ensuring the security of your business documents is our number one priority. With a successful SOC 2 ®, Type 2 audit, SecureDocs adheres to one of the most stringent, industry-accepted auditing standards for service companies. Permission-based user roles, customizable NDAs, two-factor authentication, encryption, and AWS data centers are some of the measures we take to keep your information safe and ensure you are in control of who sees your confidential information.
Your company’s sensitive data is protected with extensive Amazon Web Services (AWS) security measures that include segmentation, firewalls, intrusion detection, electronic key cards, pin codes, biometric hand scans, and on-site security officers 24 hours a day, 365 days a year. AWS Data Centers are ISO 27001 Certified and offer Service Organization Control (SOC) Reports 1, 2, and 3. SecureDocs utilizes AWS data centers that are physically located in the United States, Ireland, and Germany, giving you the choice to have your data hosted in the U.S. or Europe.
SecureDocs data rooms use 256-bit encryption for all data, both in transit and at rest. And all connections are protected using TLS 1.2 with a TLS 256-bit symmetric encryption and 2048-bit authenticated key agreement. Additionally, passwords are masked with a separate salt and encrypted with bcrypt— and they have enforced minimums for length and complexity.
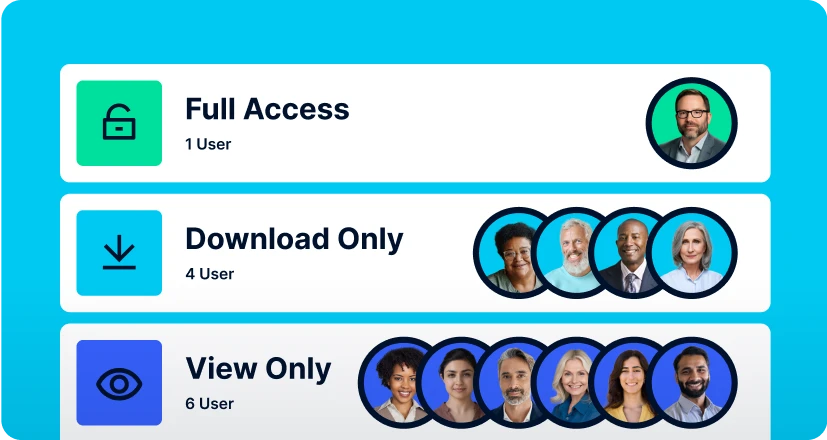
Control access to sensitive documents in your secure data room with easy user-role permissions. Audit trail function allows you to analyze user activity and gain valuable insights into buyer or investor interest. Filter activities by user, document upload or download, or number of document views. Customize and schedule automatic daily audit log reporting.

A reputation for reliability. With 99.9% uptime, missing opportunities or losing deals due to downtime is never a concern.

Track activity in your secure data room with audit trail reporting. Designed to let administrators know exactly who’s doing what.

Multi-factor authentication keeps your secure data room safe and your confidential documents private by protecting against threats.

Your data is even safe from us. Unlike other providers, we don’t have back-end access to your secure data room.

Single Sign-On (SSO) using the SAML 2.0 standard enables easy password management and eliminates the need to remember multiple logins.

Protect your on-screen information with one-click privacy blind that quickly hides your active screen with a single click.
SecureDocs is part of the Onit portfolio, providing trusted virtual data rooms to businesses globally. Known for affordability, security, and ease of use, SecureDocs supports thousands of customers worldwide with document-heavy transactions and corporate data needs.
We’ve built a reputation as the contract management system legal teams actually like using. Now, with Onit, we’re part of a future-proof framework designed for scale.

I wish we had started using SecureDocs much sooner. We went through multiple rounds of financing as a private company and it would have made my life so much easier.

SecureDocs is the best data room I have ever used. It is easy to use, their customer service is quick and responsive (though we almost never need to contact them).

We have successfully processed 14 transactions, 2 exits, and more than 10 follow-on transactions using SecureDocs with zero security issues.
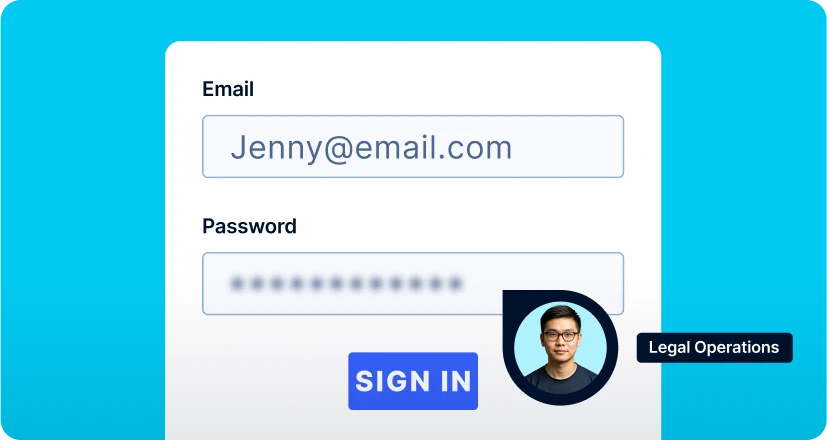
How to log in: 1. Access the login page here. 2. Enter the email address that was used to invite you to the data room, and the password you’ve established. Click the 'Log In' button. 3. If secondary authentication has been enabled by the site administrator, you will need to request a verification code and have a text message sent to your cell phone. Enter the 5 digit number found in the text message and click the 'Log In' button. Or 4. Use an authentication application. It will need to be downloaded to your cell phone (i.e. Google Authenticator). Open up the application. Scan the QR code, and your application will generate verification codes. Enter the 5 digit number found in the app and click the 'Log In' button. Need additional assistance? Contact us at [email protected] or 866.700.7975
1. Downloading documents requires that you have download permission. If you do not have download permission, your administrator will need to update your access. 2. In the documents tab, click the check box to the left side of desired documents/folders. 3. A 'Download' button will appear above your folders/documents. Click this download option to have the selected documents/folders downloaded to your computer. * If you download more than a single document, we will produce a zip file that contains the requested documents. * You can download up to 4GB of data at one time in a single download. Need additional assistance? Contact us at [email protected] or 866.700.7975
1. Locate the file on your computer (possibly in 'downloads' folder). 2. Double click on the file. 3. If this is an archive generated from SecureDocs, you will need to enter the archive password. 4. The file should 'unzip' and reveal the contents of the zip file. 5. If you receive an error message, it could be that the character path of document folders and names has exceeded the maximum limit allowed by the Windows operating system. * You may need to use an archive utility to open zip files on your computer. - The following link will allow you to download and install an archive expander for Windows: http://www.7-zip.org/a/7z1604.msi - The following link will allow you to download and install an archive expander for Mac: http://www.kekaosx.com/en/ Need additional assistance? Contact us at [email protected] or 866.700.7975
There are two ways to upload documents and folders. 1. Documents and folders can be uploaded by drag and drop. * Locate the location of a document or folder on your computer and drag it into the central portion of the 'Documents' tab. A green box will appear around the proper location to drop the documents. * If your Internet Browser does not support drag and drop, you will need to use the 'Upload' button for folders and documents. 2. Documents and folders can be uploaded by using the blue 'Upload' button in the Documents tab. * Click the button for 'Upload,' choose to upload either a document or a folder, and the system should open a window to your computer where you can select a document/folder. * Uploading a folder in browsers other than Chrome with the 'Upload' button requires the newest version of Java. If you do not have Java or have trouble uploading the newest version, please refer to the 'Java Uploader' help document. Need additional assistance? Contact us at [email protected] or 866.700.7975
How to reset your password: 1. From the login screen (located here), select the 'Forgot Your Password?' link beneath the 'Log In' button. 2. Enter the email address that was used to invite you to the service, and then click the button to 'Send Reset Password Instructions.' 3. If the email address you entered is the same that was used to invite you to the data room, you will receive an email from [email protected]. 4. Click the link in the email for 'Change My Password' and you can then enter a new password. 5. Once the password is confirmed (typed a second time), click the option for 'Change My Password' and proceed to login. Need additional assistance? Contact us at [email protected] or 866.700.7975
1. If you’ve been invited to a SecureDocs site, you will receive an invitation from [email protected]. 2. When you receive the invitation, click the link for 'Sign Into SecureDocs Data Room.' 3. Enter a password that meets a 'Strong' strength requirement, and confirm that password by typing it again. 4. If the password is at least 'Strong,' and both passwords match, click the link for 'Set My Password.' *5. If the administrator has enabled the feature, you may be asked to enter a mobile phone number as a secondary verification. Choose the country associated with your mobile number, then enter your mobile number and click 'Send Verification Code To My Phone.' *6. You should receive a text message shortly, and you will need to enter the 5 digit code from the text message into the 'Verification Code' box on the screen. Then click 'Log In.' 7. If you don't want to receive a text message, choose the authentication application option. It will need to be downloaded to your cell phone (i.e. Google Authenticator). Open up the application, scan the QR code, and your application will generate verification codes. Enter the 5 digit number found in the app and click the 'Log In' button. 8. You must agree to the terms set forth by the site administrator. Check the box to agree to the terms of service and click the '…' button. Need additional assistance? Contact us at [email protected] or 866.700.7975
1. Upload the document. 2. Click the 'Pen' icon to the left side of the document name. 3. Click the + icon to the right of 'Signers' to add in the Signer details. 4. Type in the name and email address of the signer. If someone needs to be Cc'd to review, type in their email address and hit the blue 'Ok' button. 5. Click on the document to add signer fields for an individual. Each signer will have signature blocks designated with unique colors. 6. The signature field will appear first but you can hover your mouse over it and select other field options as well. 7. Click and drag the boxes to the appropriate sections of the contract. 8. To add a different signer, click the + icon and add in the name and email address for the additional signer and add the signer fields. 9. Once signers and signature fields are complete, click the 'Send' button. 10. Edit the packet options and designate signature routing. 11. If routing to signers in order, the order is dictated by top signer, preceded by signers below. Signer boxes can be dragged up and down to change the order signers receive the contract. 12. Click 'Send' and the document will be routed to the appropriate parties for signature. Need additional assistance? Contact us at [email protected] or 866.700.7975
1. To remove watermarks, you must be an administrator. * If you are not an administrator, you will need to ask an administrator (the person who invited you to the site) to take these steps. 2. Hover your mouse over the 'Users' tab and select the option for 'Roles.' 3. Click on the name of the role that you would like to disable watermarks for. 4. You will see an option to uncheck the box next to 'Include watermark on all PDF documents.' 5. Save the role, and repeat for any other roles that need to have watermarks disabled. *You can also disable watermarks during the creation of a new custom role. Need additional assistance? Contact us at [email protected] or 866.700.7975
1. To create an archive, you must be an administrator. * If you are not an administrator, you will need to ask an administrator (the person who invited you to the site) to take these steps. 2. Click on the 'Settings' tab. 3. There is a button at the bottom of the Settings tab for 'Create Room Archive.' 4. When you click the button, you will be required to create a password for this encrypted archive. Create a password and confirm the password by typing it a second time. Then click the 'Create' button. * You will be required to remember this password in order to open the archive once downloaded. Do not lose this password, as we cannot provide it to you should you forget it and the data room archive will be useless without it. 5. Once the archive is prepared, you will receive an email with directions to download the archive. This may take some time, depending on the volume of documents in the room. 6. In the archive email, click the 'download' link and the archive will download to your computer as a zip file. * If you are not logged into SecureDocs, you will be prompted to login. Once logged in, click on the 'Settings' tab, scroll down to the completed archive, and click on the archive link. The download should begin. 7. Once the download completes, double click on the zip file and enter the password. The file should unzip and the contents of the room will be available. * If you are unable to open the zip file, it may be due to the restraints of your operating system. See 'Opening downloaded zip files' for help. Need additional assistance? Contact us at [email protected] or 866.700.7975
Get started today with a 14-day free trial and see how simple secure file sharing can be.